So, about a month after re-playing Charles Grant's version of this battle (see previous post), I turned to representing Mollwitz with as many historical factors taken into account as possible. I won't bore the reader by recapping the background circumstances of the battle, which can easily be discovered online. But the historical factors I tried to include in the wargame itself will be outlined. First, however, the map of the battle as wargamed is shown below.

At Mollwitz, 21,000 Prussians attacked 19,000 Austrians over a flat April landscape covered in snow, apparently up to 2 feet deep in places. The Prussians outnumbered the Austrians in infantry (about 16,000 to 10,000), and their infantry was also significantly higher in quality, much of the Austrian infantry being described as recently recruited and poorly trained. On the other hand, the Austrians had more and better cavalry, outnumbering the Prussians in this arm by about 9,000 to 4,000. The situation in artillery was also interestingly asymmetric, with the Prussians having 46 guns against just 10 Austrian. I should indicate that most of the fine detail here is provided by the outstanding account of the battle given on the appropriate page of the excellent Obscure Battles blog.
On that April day in 1741, the Prussians, under the combined command of Frederick the Great and the Count Schwerin, advanced slowly over the snow covered ground towards Mollwitz. They managed to cramp their left flank uncomfortably against the Kleiner Bach, with the left flank cavalry forced to deploy on the far side. The Austrians had been expecting the Prussians to approach from the north (failures in reconnaissance being a feature of the campaign), and had to re-deploy their infantry quickly in reverse order, with those expecting to be on the left flank being on the right, and vice-versa. This unsettled a force already suffering from lack of training, and unfortunately also provided with wooden ramrods rather than the more modern and durable iron ones in use by the Prussians.
Having advanced into artillery range, the Prussian battery Lehwaldt began to fire on the Austrian left flank cavalry under General Römer. To avoid this fire, and to cover the still-deploying Austrian infantry, Römer moved away to his left and set himself up for a flank attack against the Prussian right.
This is where my re-fight commences, as shown on the map. Römer is ready to strike at Schüllenberg, whose weak cavalry is shored up with some grenadiers under his command. The rest of both armies are ready to engage, with hussars pushing ahead on the southern flank and the Prussian artillery nicely positioned to pound the Austrians before their infantry advances.
This would be a good time to show the forces in use. This is not a big battle, but some 'bath-tubbing' was still needed, with one model battalion or regiment representing about 2 real ones. I was, however, a little generous with the cavalry which I represented at a ratio of about 2:3 where it suited me, to get decent numbers on the table. S = superior, R = regular, I = inferior.
Austria: C-in-C Neipperg
Left Wing Cavalry (Römer, dashing)
3 cuirassier regiments (S)
1 dragoon regiment (R)
First Line Infantry (Göldy, dependable)
4 infantry battalions (I)
1 grenadier battalion (R)
2 light batteries (R)
Second Line Infantry (Harrach, dependable)
3 infantry battalions (I)
Right Wing Cavalry (Berlichingen, dithering)
1 cuirassier regiment (S)
3 dragoon regiments (R)
Independent Cavalry
1 hussar regiment (R) 19 units: Break Point 9 units.
Prussia: C-in-C Frederick (dithering), Schwerin
Left Wing cavalry (Posadowsky, dithering)
1 cuirassier regiment (R)
1 dragoon regiment (I)
1 hussar regiment (I)
First Line Infantry (Marwitz, dependable)
5 infantry battalions (R)
2 grenadier battalions (S)
2 field batteries (R) (Bty Dohna)
2 light batteries (R)
Second Line Infantry (Leopold, dependable)
4 infantry battalions (R)
Right Wing Cavalry (Schüllenberg, dithering)
1 cuirassier regiment (R)
1 dragoon regiment (I)
1 grenadier battalion (S)
2 field batteries (R) (Bty Lehwaldt) 21 units: Break Point 10 units.
Scenario Conditions
Neipperg is placed in front of Mollwitz. Frederick is behind the Prussian right wing. Schwerin is with the Prussian centre.
Effect of snow – no grazing fire is allowed. No charge movement bonuses.
A pre-game bombardment will take place. The Austrian light guns start the battle deployed, whilst the Prussian light guns start limbered.
The Austrians have the initiative on the first two turns. Thereafter roll for initiative with no modifiers.
Frederick and Schwerin will act as dual C-in-Cs – in effect the Prussians have an extra commanding general at the start of the game. Frederick will leave the battlefield when Schüllenberg’s brigade has lost 2 units (see below).
The Wargame
With the historical conditions in place, this is a tough battle for the Austrians to win. In the real battle, Römer thrashed Schüllenberg's cavalry but the Prussian infantry shored up the flank and little further progress was made, with Römer himself being killed. However, the initial disaster had looked bad for the Prussians, which led Schwerin to encourage Frederick to leave the battlefield. Nevertheless, Schwerin then ordered forward the well-drilled Prussian infantry who advanced remorselessly, firing all the while - some sources estimate they may have been firing 4 volleys per minute to every 2 from the Austrians. With Berlichingen's cavalry unable or perhaps unwilling to intervene effectively against the left flank of the enemy infantry, the Prussian musketeers eventually put the Austrian centre to flight. To have a chance in the wargame re-fight, the Austrian cavalry on both flanks would need to intervene more decisively.
I represented the terrain with an old white sheet for snow, plus a bit of snow flock (you can get anything these days) to tart up the buildings, trees and roads. An 8' x 6' table would have been ideal with 28mm figures, but my 7.5' x 6' table sufficed. I was able to tempt 4 wargaming friends over with promises of home-made cake (not baked by me, thankfully), and so we had a nice set-up with 2 gamers per side and myself umpiring. Post of Honour were of course the rules in use. What happened in the game is shown in the photos below.
 |
| Set-up 1. Pampitz in the foreground, with the Austrians defending Mollwitz in the background. |
 |
| Set-up 2. Römer's cavalry near Grunningen waits to strike the Prussian flank. |
 |
| Neipperg takes up position behind his centre on the outskirts of Mollwitz. |
 |
| The cream of the Austrian cavalry await their moment. |
 |
| Battery Dohna prepare to bombard the Austrian line. |
 |
| The game starts, and Römer's charge goes in. He has good initial success against the weak Prussian cavalry. But the Prussian players are already putting together a strong infantry flank guard of grenadiers. |
 |
| On the other flank Berlichingen strikes hard at the inferior Prussian cavalry across the Kleiner Bach. The Prussians put up a stiff fight, enabling their infantry to form a secure line on the other side of the stream. |
 |
| The Prussians are moving infantry to the flanks to fend off the Austrian cavalry. This has weakened their centre which has lost formation somewhat. The Austrians are daring to hope. |
 |
| All to play for, but Paul and Craig seem a bit concerned with the odds against Römer. |
 |
| It turns out they were right. History is repeated as the supporting Prussian grenadiers stand fast and blast the attacking cavalry with musketry. Römer's horsemen are decisively seen off. |
 |
| Harrach marches the second line infantry out to fill the gap in the Austrian left flank. In the far background the Austrian right wing cavalry can't breach the Prussian infantry flank guard. An indecisive Austrian hand hovers over their dragoons. |
 |
| The Prussian infantry reforms and begins to move forward in a solid-looking line. |
 |
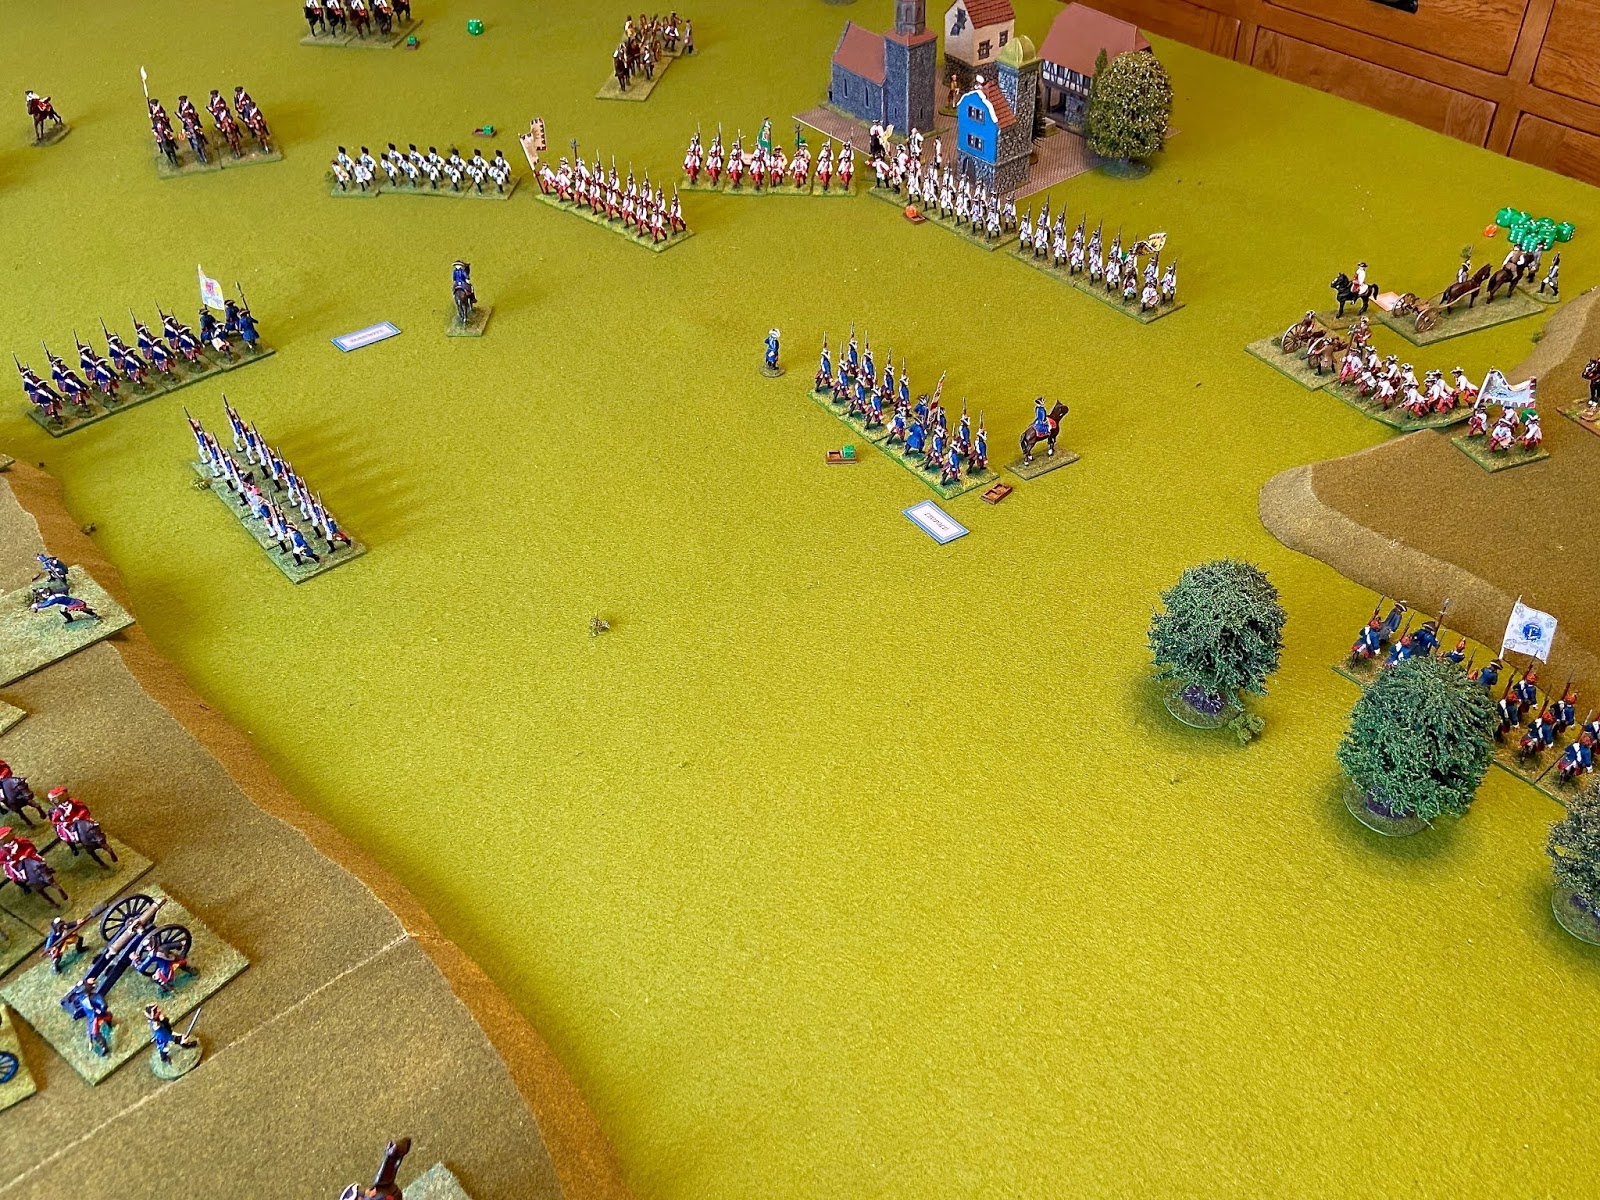
| The crunch approaches. Can the Austrians hang on, or will Prussian quality triumph? |
 |
| At last the 2 lines are in musket range, and the Prussians are soon in the ascendent. Note the orange dice behind the Austrian line, indicating 'weakened' units. |
 |
| And they're gone. Harrach's units rout and the Austrian left flank is wide open. At this point the Austrians had also lost more than half their units. A Prussian victory! |
An Historical Outcome
There had been a large and rather fun cavalry fight on the Prussian left flank which never happened in 1741, but apart from that history had pretty much repeated itself. It was pleasing to see that the rules could cope with a strongly asymmetric battle and produce the expected outcomes. On the other hand, there was plenty of interesting gaming and a few tantalising glimpses of a possible reversal for the Austrians, which kept everyone involved.
I missed a few points of the rules, but nothing that would have changed the outcome. It's always surprising how, even as the rules author, the interest of the game and the accompanying banter can divert your attention from the straight and narrow. I think everyone had a good time, although I have a sneaking feeling that my visitors thought the true highlight was my wife's cake, warm from the oven. Thank you guys for coming over yet again and creating a great day's gaming. I enjoyed myself immensely.
Another historical re-fight beckons later in February, this time the Battle of Maida, 1806. See you again soon!