Followers

Friday 15 March 2019

Mr Wesencraft and the Battle of Blenheim

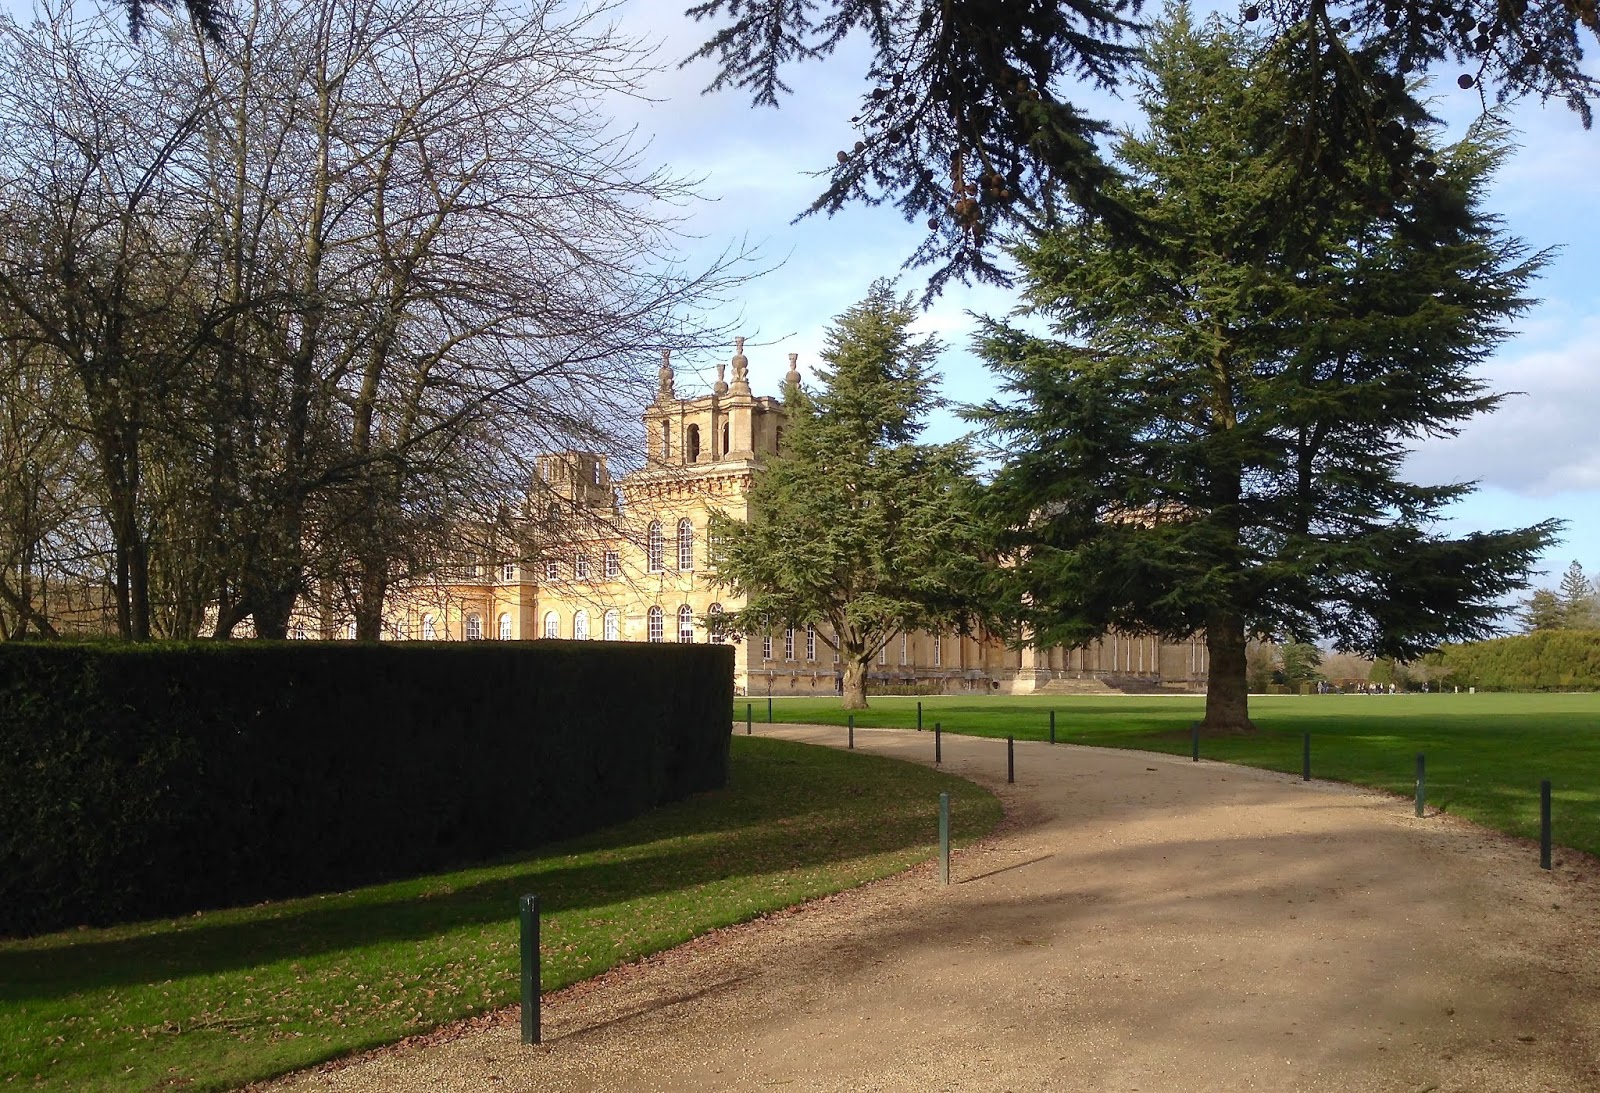
At this time of year, it's easy to find a quiet corner in the delightful grounds of Blenheim Palace.

Well, what a fool I've been. Since I moved to my present job 6 years ago I've visited Blenheim Palace many times. How did I miss the diorama of the battle in the museum area, with its thousands (yes, thousands) of 6mm miniatures? Whilst kicking myself and admiring the work, what did I see in the bottom right hand corner but the nameplate in the photo below:

Hmmm. I seem to recognise that name...
Yes indeed, the Charles Wesencraft. Wanting to know some background, I did what one does these days and searched the internet - which duly came to my aid. The diorama was created in 2003-4 almost entirely just by the man himself for the 300th anniversary of the battle. That's 6000 6mm Baccus figures painted by one man in well under a year. Crikey. He tells the story HERE.

The battle is depicted as it was at 5.15pm. This is Oberglau, viewed from behind the British lines.
Blindheim/Blenheim assaulted by the British.
Between the two towns.
A close up of some of the cavalry figures.
Oberglau again and the cavalry contest to the west.

Intentions must have changed since the display was installed, as it has remained in the historical exhibition located in the old stables, and has not moved to the palace as Charles mentions in his story.

A further treat is in store for anyone hanging around outside the gents toilets (as I often do; it's all entirely legal you know). But let me put it another way. In the lobby area outside the rest rooms there is a fine display of models from the National Collection of the British Model Soldier Society. My photo shows figures from the wars of the 18th century. Some beautifully painted flats can be seen on the lower shelf. Surprisingly, many people seem to hurry past without even noticing the treasures on display!


Anyway, if you've never looked into it, Blenheim Palace is a fantastic visit on many levels - as the birthplace of Churchill, as a glorious piece of architecture, as the location of extensive and beautiful grounds which can be explored at will, and as an historic building linked to one of the most famous battles in history. Visit if you can, and allow all day.

I'll be back with some wargamey stuff, asap!

Friday 8 March 2019

The Engagement At Fontoney

Only yesterday I saw a copy of Charles S. Grant's Scenarios For Wargames available from Caliver Books at £60. I'm not calling that a rip-off - you can pay the same on Amazon. I guess I did well a couple of years ago to buy a copy of the book for £20 at the Colours show - I knocked the seller down from £25. 

The book is a classic, and why it hasn't been re-printed is a mystery to me. The copy I bought did have a few pages at the back stuck together. Maybe it was owned at one stage by the kind of misguided gamer who describes our hobby as 'exciting'. I mean, the book's a classic, but it's not that good. I separated the pages carefully and the final few scenarios could still be read.

Anyway, I have been remiss in failing to use the many excellent ideas contained in the book to enhance my wargaming. Apart from being clever in concept, the scenarios score by mostly using quite small forces, which means they are easy to stage and can be played comfortably in an evening. Of course, it has to be remembered that Mr. Grant uses 48-man infantry battalions, so perhaps in his case the battles aren't as small as they seem to be to me. Whatever the case, recently I started at the beginning and took up scenario 1 as a try-out for my Post of Honour rules. Even better, the stars briefly aligned and I would be able to play the battle twice in less than a week against 2 separate wargamers, both of considerable experience. So I would play Paul in game 1, and Steve in game 2.

My table size was 6' x 5'. The scenario maps are sized for a 7' x 5' table.

The map for the scenario, taken from the book, is shown above. Any Horse and Musket wargamer worth his salt will see straight away that the source is the Battle of Fontenoy (1745). Hence the slightly altered names of places, which are my own additions.

The defenders of the line B-A-C (in my case, SYW Austrians) number only 4 infantry units, a light infantry unit, 2 units of heavy cavalry and 4 guns. The attackers (Prussians) have to form up on the line X-Y and have 8 infantry units, a unit of light infantry, 2 units of heavy cavalry, 1 unit of light cavalry and 4 guns. Basically, the Prussians need to control 2 out of the 3 positions A, B and C, or make the Austrians suffer sufficiently to flee the field, in order to win. The defenders must set up first, allowing the attackers to deploy in full knowledge of the defender's positions. 3 of the 4 defender's guns are required to be in the 3 redoubts.

I thought giving the Austrians 4 guns was a little generous, but I was proved wrong (and not for the first time). To even things up a bit (as I thought), I made 2 of the Prussian infantry units grenadiers, and hence 'superior' quality in my rules. I also intended to to use my 'pre-game bombardment' rules which would allow both sides to use their artillery to soften up their opponents before the first turn.

So now, let's look at how the 2 games proceeded.

The Engagement at Fontoney (1)

The defender sets up first, then the attacker responds with his set up. Paul (Prussia) concentrated
all his infantry in his centre and right, leaving the guns on the left with unhindered lines of fire. 
An Austrian battalion plus artillery in Fontoney.
The Prussians concentrated on cracking open the centre of the Austrian position
by assaulting Fontenoy in overwhelming numbers
They are completely successful - the defenders are driven out and what remains
of the Austrian line are considerably outnumbered.
On the other flank the Austrian gun positions in redoubts 1 and 2 were
eventually wrecked by the concentration against them of all 4 Prussian guns.
A conclusive victory - the Austrians are notable by their absence
in this shot at the end of the game
Redoubt "C" remained in Austrian hands, although harassed by Prussian jaeger.
On the opposite flank, Angoint remains in the hands of a unit of Croats -
but their position is untenable and they will have to leave quickly.

A fairly straightforward victory for the Prussians, mainly due to Paul doing all the right things. I decided to add in another Austrian battalion for the second game.

The Engagement at Fontoney (2)

Another day, another costly assault. With the Prussians now under my command, and the Austrians
fielding an additional infantry battalion, things might not go as well for the forces of Frederick.
Once again Fontoney was the key to the position.
The assault is well under way. The Prussian battery in the distance pounds Fontoney,
supporting the infantry advance.
Oh dear. Two Prussian battalions appear to be routing! That wasn't supposed to happen. 
Unfortunately the Army Commander was killed at the same time - the gold counter marks the position 
of his demise. With luck his subordinate will reappear in the next move to take over.
My clever little flank move isn't having much success either.
Artillery from the redoubts sends cavalry and infantry running for their baseline.
About here I decided it was all up. I have a toehold in Fontoney,
but not much to back it up. Plus the town is being reinforced already.
The desperate struggle in Fontoney.
My flank moves had resulted in Angoint being disputed, but the attacking
battalion was on its own. They would have to retire.

So I lost the second game as well. It was obvious that the key to this scenario was partly following the British tactic from the real battle - channel all your forces into the relatively weak sector east of Fontenoy/Fontoney - but with the addition of a strong attack on Fontoney/Fontenoy itself. My flanking foray in game 2 was just a waste of resources. So I lost both battles but had 2 really good games, both completed in around 2.5 hours. Thanks for coming over guys.

Post of Honour
I was pretty pleased with how the rules played, but in the second game in particular some confusion occurred when multiple units were retreating in bad morale, and we were trying to work out how they affected each other. So I got to thinking about simplifying the morale rules with some inspiration from Kings of War Historical. There will be a new version of Post of Honour available soon on the HoW website, with the new ideas incorporated.

Check out Steve's thoughts on Game 2 here.

Until next time!