
So, time for a much needed playtest of my new Napoleonic rules. Having made some recent changes, more games were vital, and I arranged first to go over to Roy's, where I knew I would get some well-informed feedback. Then shortly after that I had a free evening at home to consider our conclusions during a solo re-run.
Both games featured a modest fictional engagement set in 1805, supposedly just before the Battle of Austerlitz - hence the rather cheesy title of this post.
The Scenario
Between Napoleon's famous victory of manoeuvre at Ulm in October and the battle of Austerlitz on the 2nd of December, a small French force is advancing south protecting the flank of Napoleon's eastward advance on Vienna. Light cavalry scouts advance along the road through Fausterlitzen, and on reaching the southern edge of the town they discover an Austrian force drawn up across the road ahead of them. On the far side of an area of open ground the Austrians have blocked the route south, with their right anchored on the gentle slopes of the Kleine Berg. It looks like the Austrians are in similar strength to the French.
 |
| Table size 6' x 5'. North to top of course. |
The French commander decides to attack, and his forces advance through the woods north-east of Fausterlitzen until, on reaching the open ground east of the town, they are able to deploy.
French Forces
These can deploy anywhere up to 12" from the northern baseline, but are also allowed to occupy Fausterlitzen at the start of the game.
1. Infantry Brigade: 6 infantry battalions, 1 field battery
2. Infantry Demi-Brigade: 3 light infantry battalions (superior), 1 field battery
3. Cavalry Brigade: 2 dragoon regiments, 1 horse battery (superior)
4. Independent Cavalry: 1 regiment of hussars
Total 15 units. Break point 7.5 units.
All units are classed regular except the 3 light infantry battalions and the horse artillery battery, all of which are superior.
Austrian Forces
These are deployed up to 12" from the southern baseline, but are also allowed to occupy the Kleine Berg at the start of the game.
1. Infantry Brigade: 4 infantry battalions, 1 field battery
2. Infantry Brigade: 4 infantry battalions, 1 field battery
3. Independent Light Infantry: 1 Grenz battalion (inferior)
4. Cavalry Brigade: 2 cuirassier regiments (superior)
5. Independent Cavalry: 1 hussar regiment
Total 14 units. Break point 7 units.
All units are classed regular except for the inferior Grenz light infantry and the superior cuirassiers.
Command
The much better quality of the French command in this campaign is represented by giving them a +1 on their initiative roll at the beginning of each turn, and also more favourable die rolls for deciding the quality of their brigade commanders at the start of the game:
French: 1 = Inept, 2-4 = Capable, 5-6 = Inspiring.
Austrian: 1-2 = Inept, 3-6 = Capable.
The French will also have the advantage of the 'French System' - quicker formation changes, assault columns, and the ability to deploy skirmish infantry from both their light and line battalions. The Austrians are still labouring under the disadvantages of the 'Linear System' at this date, so assault columns are forbidden and the only skirmish infantry available will be the slightly dodgy Grenzers.
Deployment
Deployment will be by alternate brigades, with the Austrians going first. After all brigades are deployed, the independent units are then also deployed alternately.
The Game (1)
And so battle commenced at Roy's. In this case the table size became 6' x 4', and we gamed with Roy's lovely old 20mm Hinton Hunt miniatures, using 24 figure infantry units and 12 figure cavalry units.
 |
| The French attack commences under Roy's direction. |
 |
| It appeared Roy's intention was to give the rules a stern test by going straight into the attack. Were those assault columns (foreground) heading around my flank or would they strike the Kleine Berg? |
 |
| The French dragoon brigade hovered west of Fausterlitzen awaiting developments. |
 |
| The columns of high quality Legère turn towards the hill. The Austrian cuirassiers set off to threaten their flank. |
 |
| Ouch! The French columns smash into the Austrian infantry on the Kleine Berg and Tricolores are soon flying over the ridge. |
 |
| An overview from the same turn. French pressure is strong across the table, and the Austrians are losing units. |
 |
| The French have triumphed on the Kleine Berg, but an Austrian cuirassier regiment turns back and drives one of the French battalions westward |
 |
| On their left flank the Austrians have also lost units and now the French Dragoons are closing in. We called it here, announcing a French victory. |
This was a fine test for the rules, and I went home with a few changes in mind, particularly regarding increasing the effectiveness of assault columns in close combat. Unfortunately, in his eagerness to get to grips, Roy had not bothered to deploy skirmishers, and the utility of these troops was not tested. But our post-match analysis seemed to suggest their use would be worthwhile.
The Game (2)
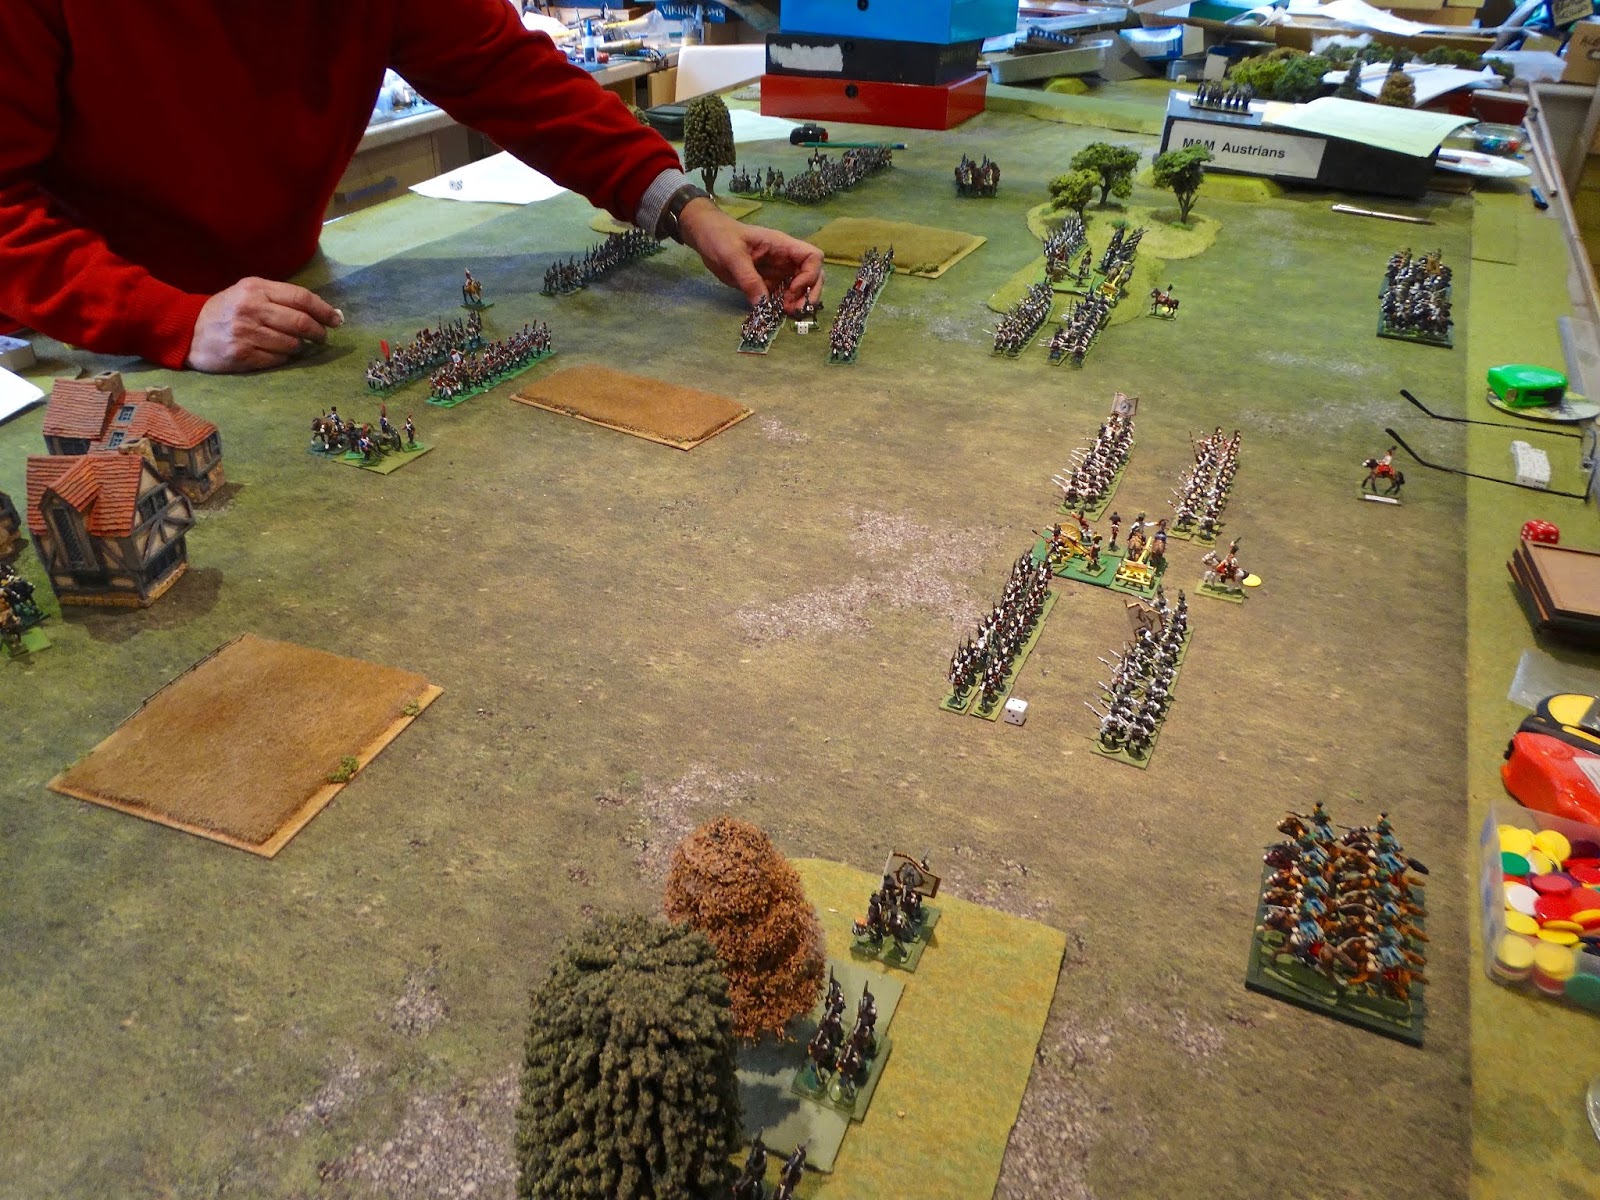
And so a couple of days later I was able to consolidate the lessons of Game 1 in a solo run-out of the same scenario. I'm afraid Napoleonic fans will be disappointed to see that in the absence of a Napoleonic collection, I have substituted my 28mm SYW figures. The blue-coated Prussians represent the blue-coated French, whilst the white-coated Austrians represent (you guessed it) the Austrians. My 28mm RSM95s are organised into infantry units of 16 figures and cavalry units of 8 figures.
 |
| I set up the opposing armies in the same deployment we used in the first game. |
 |
| This time I deployed skirmishing infantry ahead of the attacking French columns. |
 |
| Once again, the dragoons deploy on the French right. |
 |
| Here they come! French artillery and skirmisher fire took a toll on the 2 Austrian battalions on the front slope of the Kleine Berg... |
 |
| ...with this result. One Austrian battalion routed, taking the other with it. Now the 2 Hungarian battalions moved up from the reverse slope and braced for impact. |
 |
| The French dragoons were a little more active under my control, and steadily pushed back the defending Grenzers and hussars. |
 |
| Once again, it was crunch time on the Kleine Berg, and once again the French columns were successful. |
 |
| The Austrian battery is surrounded, and the final battalion of Hungarians has suffered heavily and is about to be routed. |
 |
| Overview - the Austrians are on the back foot across the table. |
 |
| Just the artillery to mop up and the Kleine Berg will be an Austrian-free zone. |
 |
| Just about the only Austrian success was their triumph against the French hussars on the French left. Still, with 2 cuirassier regiments against one regiment of hussars, this was hardly unexpected. Another solid French victory. |
 |
| The French artillery had done sterling work for the whole game. A close up of one of their batteries. |
The use of skirmishing infantry worked well for the French, protecting the advancing columns and helping to weaken the defending battalions. The Austrians suffered from their own lack of skirmishers, which seemed pretty historical to me. Interesting in both games was that, with basically equal forces, the French were able to attack successfully. I think this was partly due to them having an extra artillery battery, and partly to the concentration of forces against the Kleine Berg, which gave a local superiority. A tribute to Roy's original plan!
Both games seemed to me to play well, so I am optimistic about Post of Honour developing into a worthwhile set of rules. A new version incorporating lessons learned from these games will appear shortly on the Google group.
Another Napoleonic scenario coming up shortly. See you then!
9 comments:
A game against Roy is always a stern test of any rules! I look forward to seeing the results of your work.
Agreed. I'm fortunate to have found such a knowledgeable and eloquent opponent.
An interesting report and nice pictures. Clever idea to try the same scenario with very different looking armies! Glad to hear the rules are working out the way you wish.
Glad the rules are working out Keith. I think I am not knowledgable enough on the period to join your group but I look forward to the finished product. Best wishes.
Don't worry Jim - if you fancy downloading a free set of rules just join up. Of course you do have to give an email address.
Two great looking games Keith and nice to know the rules are moving along. A period I know little about but am enjoying adding to my knowledge, albeit slowly.
Yes Steve, there's a lot to know. When I chose the SYW period as my first real plunge into horse and musket wargaming, the greater simplicity of that period compared to Napoleonics was one thing that attracted me. I mentioned as much in the introduction to HoW. I'm now finding out how right I was! 23 years of conflict to get to know, along with the tactical developments that occurred along the way. But a fascinating period nevertheless.
I look forward to see the results of these games in the future. I had an ACW game at Roy's a few weeks ago. Lovely figures and a gracious host as always.
Nice to see your SYW-troops in action again, even if in the wrong period.
Post a Comment