
Reflecting on the success of the re-fight of 'The Battle of Sittangbad' (see previous post), my thoughts naturally turned to doing something similar for my next game. What could be more obvious than to draw inspiration from the companion book to Charge!, namely The War Game, written of course by Charles Grant and published in 1971. In this book the 'big battle' was the representation of The Battle of Mollwitz.
Re-reading the very full and enjoyable account in Mr Grant's book, it was obvious that although he had done his research and had assembled historically appropriate forces, he had allowed the players to deploy however they wanted and had also decided not to bother with the issues of troop quality which were (for me) one of the most interesting factors in the real battle. As a consequence, the battle as fought by Charles Grant and his friends, whilst being obviously most enjoyable and a fine spectacle, bore very little resemblance to the actual battle. Having done a bit of online research, I wanted to try and include all the various historical factors which made Mollwitz so interesting.
What to do? Rather obviously, I decided on playing two games, one based firmly on the 1971 re-fight, and another where I tried to be a bit more historical. This post deals with the former. I'll save most of the historical stuff for the next post, but basically Mollwitz was the first battle of the War of the Austrian Succession, and also Frederick the Great's first battle. It was reasonably small, featuring total forces of about 20,000 on each side. The Austrians had more and better cavalry, the Prussians had more and better infantry. Along with other fascinating features such as the snow-covered landscape and Frederick leaving the battle prematurely when the Prussians were losing (only for the Prussians to win in the end), it is a battle full of interest for the wargamer. The best online source is on the rather wonderful 'Obscure Battles Blog':
For the Grant battle, some of you may remember the 2013 re-fight at the Partisan show, featuring (among others) Charles S. Grant, Stuart Asquith and Henry Hyde, as well as the original figures and buildings. Phil Olley's 'Classic Wargaming Blog' retains a fine record of the event:
My own re-run would of course be nowhere near as grand. but I would try and stick with the same terrain and deployment as in 1971, whilst using my own rules. For those not possessing the book, the map from The War Game is shown below - Austrians at the top, Prussians below:

As with the Charge! rules, the Charles Grant rules as used for Mollwitz have little or no role for Generals or Brigadiers, or much in the way of organisation below army level. However, to use my rules a bit of brigading was needed, and the forces were organised as below. The numbers relate to the units on the original map.
Prussia (Frederick/Schwerin)
Left
Wing Cavalry (Posadowsky)
1
cuirassier regiment (27)
1
dragoon regiment (28)
1
hussar regiment (29)
Infantry
Brigade (Marwitz)
2
infantry battalions (25, 26)
2
grenadier battalions (23, 24)
1 field
battery (20)
Infantry
Brigade (Leopold)
4
infantry battalions (18, 19, 21, 22)
2
field batteries (20 x 2)
Right
Wing Infantry Brigade (Schülenberg)
2
infantry battalions (16, 17)
16 units
Austria (Neipperg)
Cavalry
Brigade (Römer)
2
cuirassier regiments (10, 11)
2
dragoon regiments (12, 13)
Cavalry
Brigade (Berlichingen)
2
hussar regiments (14, 15)
Infantry
Brigade (Harrach)
1
grenadier battalion (9)
2
infantry battalions (6, 7)
1
field battery (8)
Infantry
Brigade (Göldy)
4
infantry battalions (1, 2, 4, 5)
1
field battery (3)
15 units
Scenario conditions
All generals are dependable. The combined Prussian army commanders count as one general. All units are regular except the grenadiers
and cuirassier which are superior.
Hills are gentle. The line of trees between Grunningen
and Hermsdorf counts as an obstacle, blocks LOS, and should generally be
treated as the edge of a wood. Units must be in contact with the trees to see
or be seen through them, or to fire or be fired at.
The first side reduced to half strength loses.
And so there we were. My local friend Roy was good enough to come round and play out the resulting contest with me - he took the Austrians, I was the Prussian commander. I set up the table as per the Grant map, (a 7.5' x 6' table was in use), and my 16 figure infantry units and 8 figure cavalry units fitted in quite well with the book deployment. However, I will be the first to admit that the magnificent spectacle of the original table, as re-created for the Partisan show, was far in excess of anything you see here.
The Game
 |
| And they're off! The Prussians grind forward, whilst the Austrians deploy their infantry into line and commence a threatening flanking move with their cavalry. |
 |
| Prussian fusiliers move forward through Hermsdorf. |
 |
| Roy used his superior cavalry to much greater effect than the players in the original battle. Whilst the cuirassiers and hussars move in, the dragoons circle out to the Austrian extreme right, to exploit the inevitable victory. |
 |
| The Prussians shake out into line. I misjudged the positioning of my infantry flank guard, which was to have disastrous consequences. |
 |
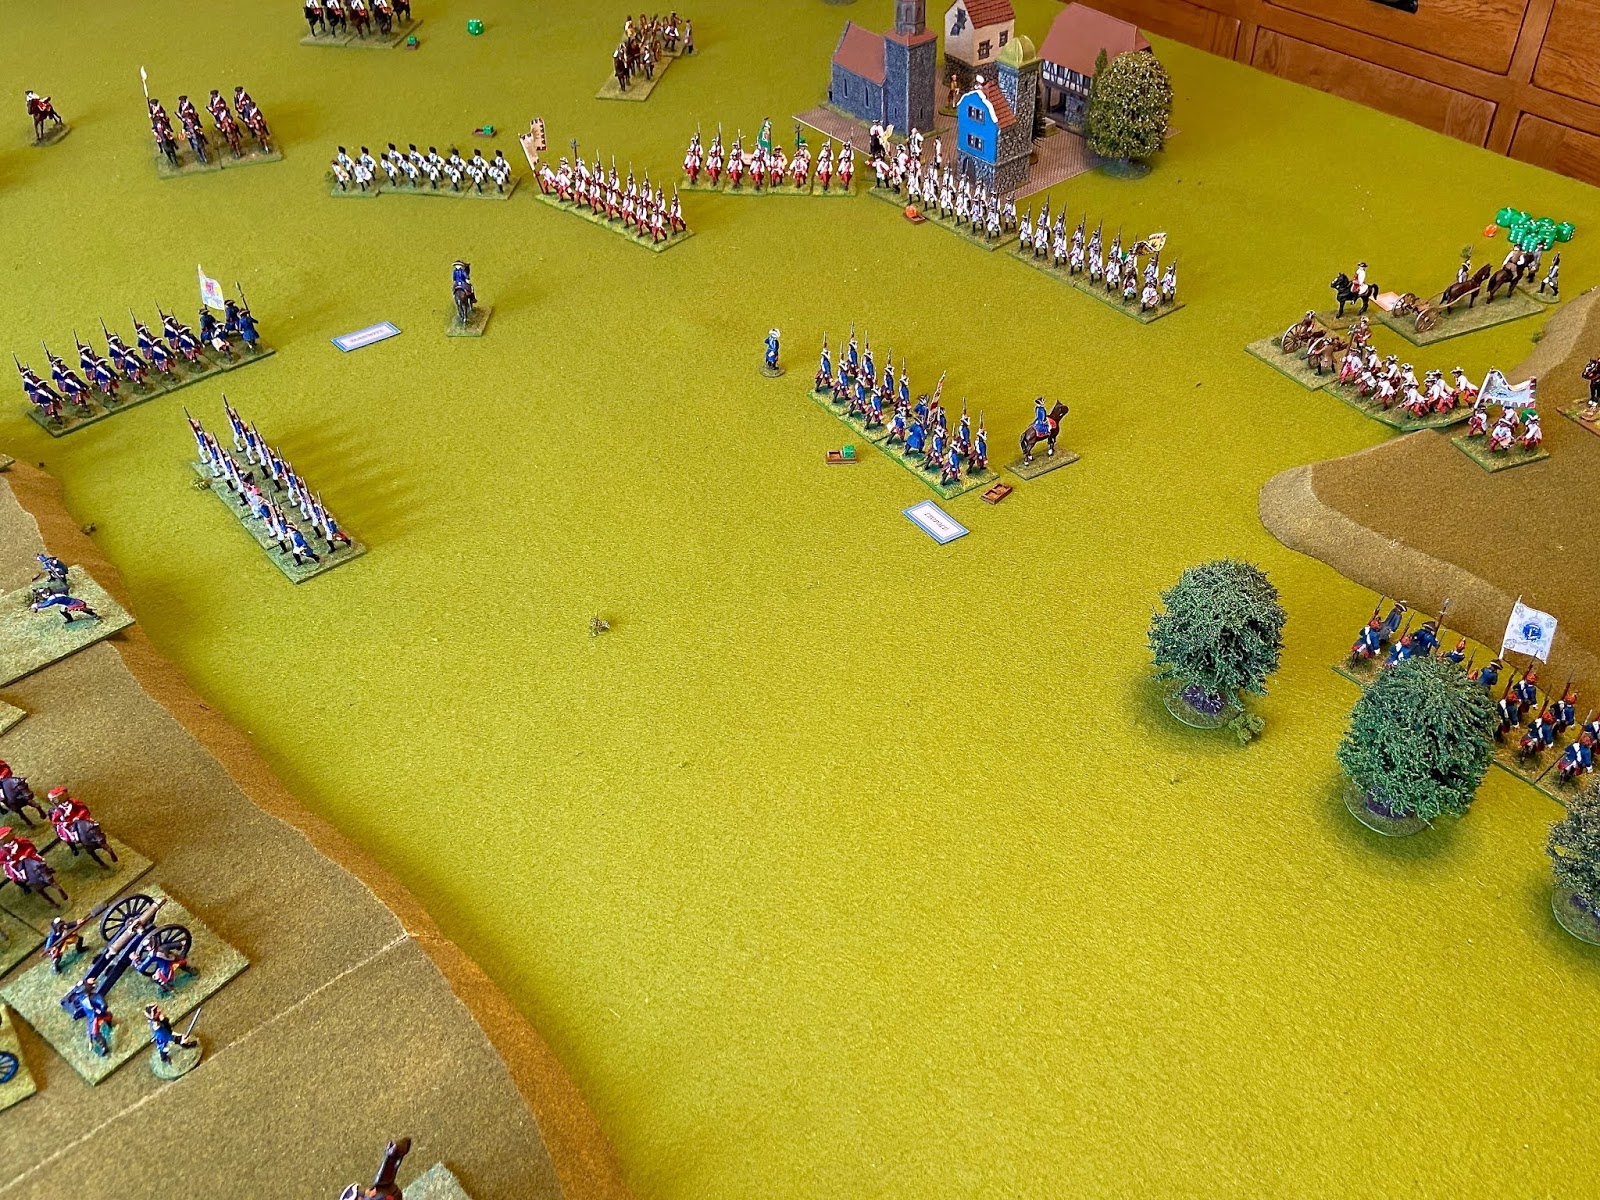
| Overview as the game entered its middle phase. In the background the Austrian cavalry is poised for success. The Austrian infantry are nicely deployed, and the Prussian guns begin to engage. |
 |
| Roy assumes an expression of appropriate smugness as the Prussian cavalry goes under. The Austrian dragoons on the left of the picture are ready for the exploitation phase. |
 |
| Oh dear me. There don't appear to be any Prussian cavalry left! And there is nothing between the Austrian cavalry and my gun line! |
 |
| The Prussian infantry plough on, hoping for a miracle. But with no advantage in quality or numbers, a successful frontal attack seems unlikely. |
 |
| By the next move, a grenadier unit has to turn around to face the cavalry threat to the Prussian flank and rear. The orange dice indicate a number of attacking Prussian units are already weakened by Austrian fire. |
 |
| End phase. Everything starts to go horribly wrong for the Prussians as the Austrian hussars prepare to charge the hurriedly re-deploying (and horribly exposed) Prussian guns. |
 |
| Well, that wasn't supposed to happen. A sequence of murderously effective Austrian volleys sweeps a swathe of Prussian infantry units from the table in front of Mollwitz. |
 |
| A further overview as the game ends on move 7. The Prussians have been comprehensively defeated. |
 |
| Oops. Where did all the Prussian infantry go? |
Roy's tactics were straightforward but ruthlessly effective. If I had deployed an infantry flank guard on the left of the Prussian infantry line, I could have made more of a fight of it. Perhaps I should have also tried to strike the left of the Austrian line near Grunningen as the Prussian forces in the 1971 battle, but I'm not sure this would have worked.
Conclusion
A very enjoyable 3 hours of wargaming (including the preparatory briefing and the usual bit of chat before we started). My own 'historical' re-fight is scheduled for about three weeks time. Of course, the term 'historical' should be taken with a large pinch of salt - playing with toy soldiers always has an extremely limited relationship to the events of real battles. Anyway, we'll see if the Prussians can do better and repeat their victory from 1741.
See you then!
14 comments:
Lovely re cantonment of Grants report Keith. I have always treasured the Wargame and still regularly read through it just to feel good. So well done and hard luck at the same time.
Lovely post -thanks
Well, maybe not as impressive a spectacle as the Partizan refight but still a worthy and attractive refight.
I think it is still a wonderful spectacle! The Austrians did stunningly well and it will be interesting to se how the historical action plays out. Nice to read your thoughts on how Grant went about setting up the game, given all the historical research he did.
Yes, quite a spectacle but one which I try to tell myself I could achieve (delusional maybe). My local library was selling off a copy of The Wargame many years ago, without the paper cover but only 20p! I still enjoy referring to it. Grant the Eldest had a way of communicating the fun of his games in the book and his articles and this is something I think you achieve also. I must get out my SYW figures again. Thanks for the report. Best wishes.
Good fun and a nice looking game. You are right that the Prussian cavalry needed more support. They were out on a limb , of inferior quality and inferior numbers.
I was also very lucky. I won two ir three crucial initiatives when Keith had moved into range, so I could insist that he moved first and thus the Austrians shot, caused casualties on the Prussians and reduced the Prussian return of fire. I also benefited from my overlap on the Prussian left where I soon had two and then three units shooting at one Prussian. .
Keith is correct tgat on the Prussian right he should have moved more quickly, but as I perceived his strength I retired the Hungarians into the village which would have enabled me to hold on for a coupke of moves.
Sorry for the satisfied expression , but when you see the look on the face of an opponent who has lost his cavalry, has to turn his guns to flank, is about facing the second line, is outnumbered on the flank and has his schwerpunkt yet to arrive, well its hard not to be just a tad gleeful, particularly when the opponent is the Prussians....a tribe who are generally not short of self regard!
The rules are easy to understand and move the battle along quickly and the Kaiserlichs win. What’s not to love?
Roy
I reckon that's pretty much how it was Roy. It's just as well I enjoy winning as much as losing, provided it's a good game.
I had to look up 'Kaiserlichs' ('Imperials'), so that's another thing I've learnt. Looking forward to the 'historical' representation, complete with new snow terrain mat (a.k.a. a converted old duvet cover).
I meant 'losing as much as winning'.
Freudian Slip!
A lovely and heart warming report thank you Keith, conveying the joy of our hobby win or lose. Good to see two fellow Cotswold gamers having a "good" time.
Chris
The battle doesn't look like Jonfreitag's representation, but seems to be an exciting game.
Well done, sir!
Good game great pics.
I had a copy of The Wargame for many years and sold it at a car boot for pence when I 'gave up' wargaming. Oh dear!
Neil Y
A fascinating battle. To lose some cavalry and retreat with the remaining units would have been not too bad. Your cavalry had not the support of the infantry. That maybe was your main problem.
Post a Comment