
And so, last Saturday, it was time for another large Honours of War bash. This would be the largest HoW game I had yet attempted, so it was going to be interesting to see whether the rules would continue to cope, and whether we would have the time to play the scenario to a reasonable conclusion.
Thanks to Steve, Jon, Adam and Paul for making the effort to come over and get involved. Stuart, nice to see you as well - it was good to show you some of the figures you have gifted me in action. And then there was my eldest son Sam, who kept the teas and coffees coming, helped with lunch and then took over from Steve for the final couple of moves, when duty called Mr Johnson away.
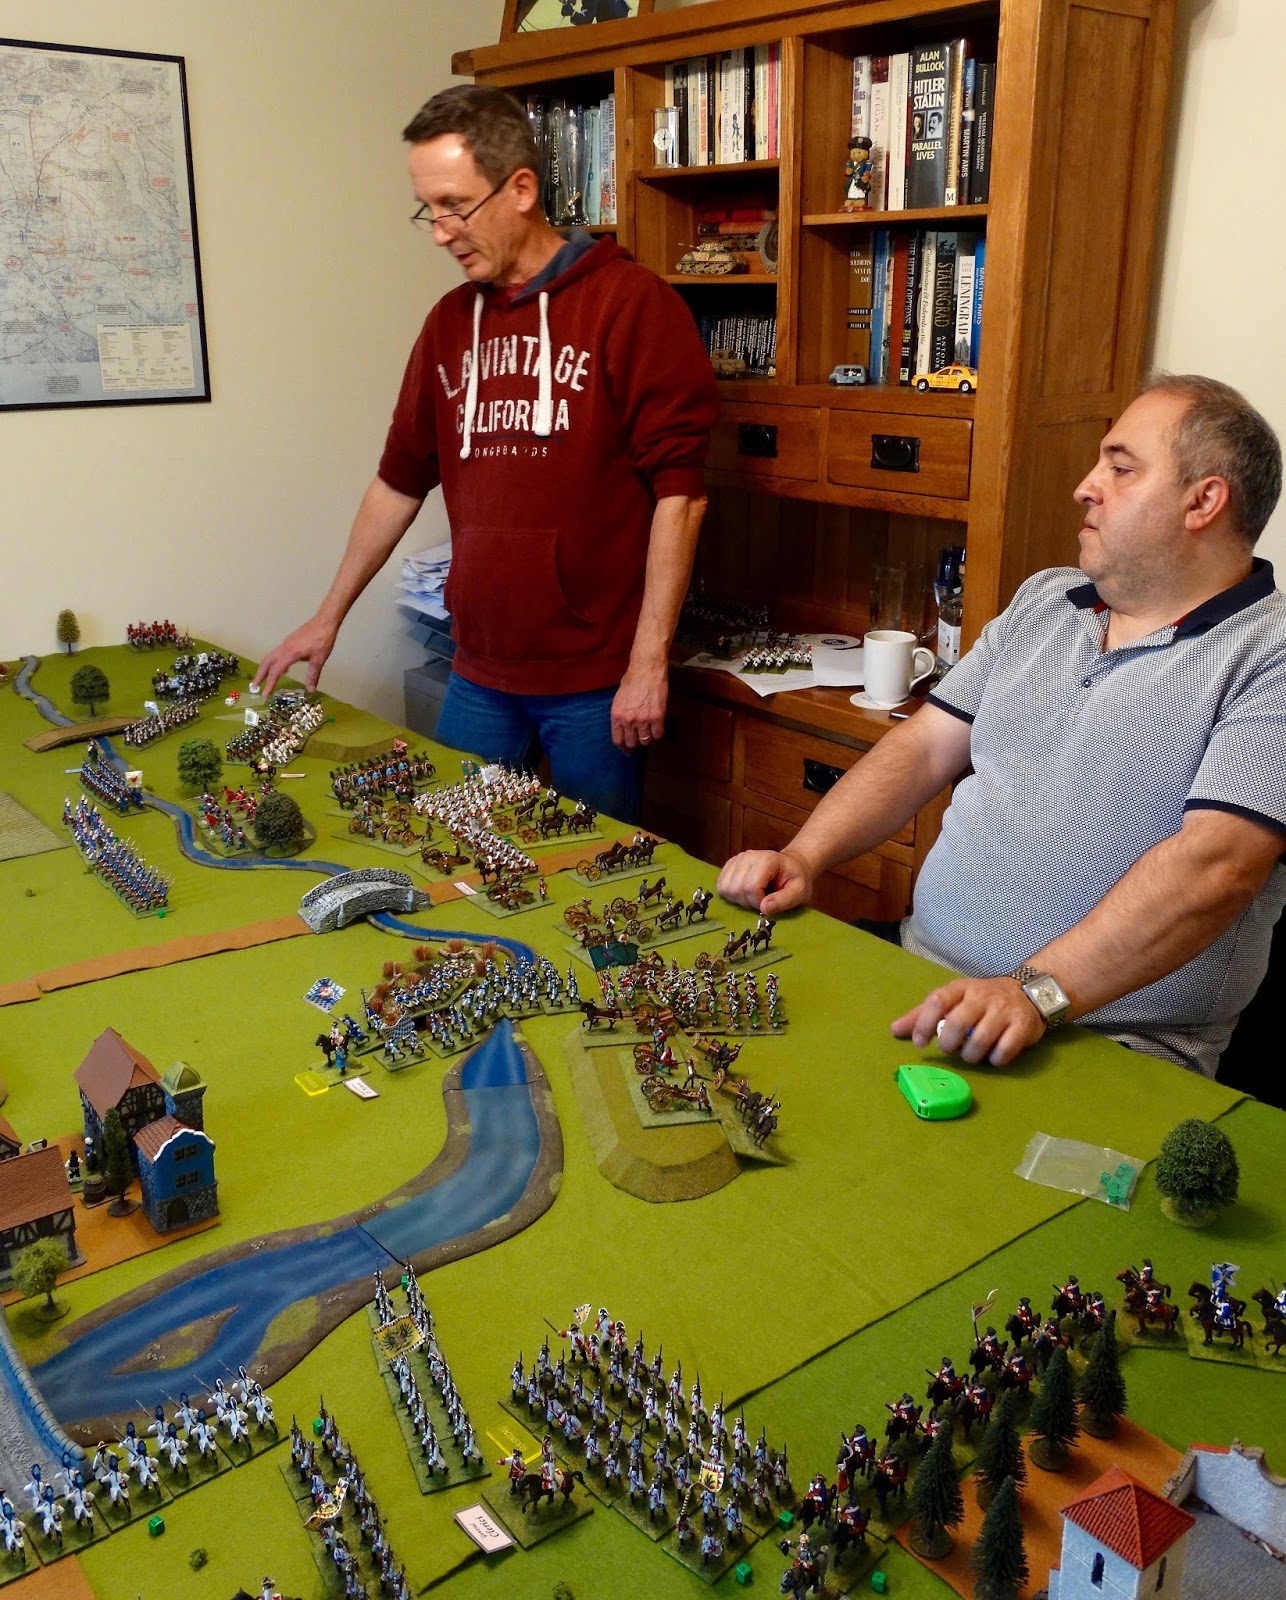
The scenario was borrowed from Wargames Illustrated 286 (August 2011). The original article was In This Sign Conquer, by Ray Lucas, and was a fictional scenario set during the War of the Spanish Succession in Italy. So I changed the names and forces around, but kept essentially the same map. My version of the terrain is seen below.
 |
| The Battle of Aufeld. 10' x 6' table, each square 1' x 1'. Some areas of terrain are labelled as a map key. |
This was to be a fairly standard attack-defence game, with the Austrians attacking the Prussians in Saxony during 1761. The Austrians would get a decent advantage in numbers, but to further offset the usual Prussian advantage the Prussians would use the '1760 onwards' National Table, and the Austrians would have a 'dashing' commanding general.
Austrian deployment would be south of the red dashed line on the map, with Prussian deployment north and east of the blue dashed line. Despite the game size, I decided to allow the players to set out the available troops as they wished, rather than presenting them with troops already deployed. The latter saves time, but of course reduces player involvement. The Prussian players had to set out 3 brigades before the Austrians started their deployment. Then alternate brigades from each side would be deployed, which would leave the Austrians with the advantage of setting out their last few brigades in full knowledge of where the Prussians were. As umpire, I held back a brigade from each side to spring a minor surprise during the game, as well as a battalion of Prussian jaeger which would appear in the ruined monastery.
The only points to note about the terrain are that all hills are gentle, the 2 main towns are classed as 'urban', the ruined monastery is classed as 'rustic', and that due south of Aufeld the Sulzbach changes from a stream (to the east) into an impassable river (to the west).
The only points to note about the terrain are that all hills are gentle, the 2 main towns are classed as 'urban', the ruined monastery is classed as 'rustic', and that due south of Aufeld the Sulzbach changes from a stream (to the east) into an impassable river (to the west).
Forces
I won't burden the reader with a full OOB of each side. Suffice to say that in total, the forces were:
Austria: 22 infantry battalions, 8 cavalry regiments, 9 artillery batteries.
Prussia: 15 infantry battalions, 6 cavalry regiments, 8 artillery batteries.
For anyone not familiar with my armies, infantry battalions are 20 figures, cavalry regiments 8 figures (a few had 12), and a single gun model forms a 'battery'.
The Game
It was of course impossible, given time and space considerations, to test this scenario in advance. As it was, most of Friday ended up being used to get everything set up and all the paperwork completed. But the game ended up being pretty well balanced, leading in the end to a minor Austrian victory. The number of moves completed wasn't recorded (the game was far too involving for that!), but I think we did about 7. I added on one move played solo after everyone had gone home, which merely confirmed the result.
The Prussians were driven out of Aufeld twice, and the town was obviously untenable under the pressure of constant Austrian artillery fire, although the Austrian infantry attacks had themselves been driven off. The Prussians were nearly at their Army Break Point (half their number of units), and so were forced to retire. The Austrians were still short of their Break Point, but had taken one third casualties in units Done For, so I considered they were sufficiently damaged to be unable to claim a major victory. This had been a bloody infantry and artillery slogging match, with the Prussians predictably aggressive (with Paul in command), and the cavalry on both sides reduced to a secondary role.
The Pictures
Not the best set of photos I've ever taken, but they give a flavour of the game.
 |
| The night before the battle. The troops are laid out in review awaiting the whims of their respective commanders. |
 |
| The game commences. The Prussians move forward on their left flank, whilst the Austrians are refusing their right and going all-out on their left. I had my doubts about those Napoleonic-style infantry columns, but kept my thoughts to myself. |
 |
| The heart of the Prussian position. Their main batteries are seen on the Aufeldsberg in the background, protected to their front by the cream of the army, the grenadiers. The less steady troops in the foreground are deployed in the shelter of Aufeld town. |
 |
| The unexpected battalion of jaeger in the monastery are assaulted by Austrian infantry and dismounted dragoons. They were of course soon overcome, but had delayed and diverted the Austrian attackers from their main task. |
 |
| The Prussians on the Aufeldsberg. There were strong batteries on both sides, and artillery fire was exchanged mercilessly throughout the game, focussing on enemy infantry formations. The 'grazing fire' rule saw extensive service, especially against those Austrian columns... |
 |
| Austrian artillery positions south of Aufeld. Prussian jaeger have pushed forward in a delaying action, but were to be quickly dispersed once canister from the Austrian guns got their range. |
 |
| Austrian grenadiers in column of battalions advance, with Aufeld across the river to their right. |
 |
| The stirring sight of the Prussian grenadiers on the Aufeldsberg. They would soon be committed to a spoiling attack on the Austrians, which would cost them dear. |
 |
| Austrian artillery fire has cleared Aufeld temporarily. The poor quality Freikorps and allied units in this area huddle in its shelter trying to sort themselves out. |
 |
| The Prussian grenadiers advance off the Aufeldsberg, with the Prussian left flank pushing forward into the empty space on the Austrian right. It appears the Prussians expected Austrian reinforcements to appear to fill this gap, but instead a brigade previously unseen in dead ground on the Austrian left centre has commenced a dangerous looking attack (foreground left). Damn that marsh! |
 |
| Aufeld, blasted by artillery, is vacant and the Austrian infantry finally closes in. |
 |
| The pressure appears to be telling on the Austrian commanders. The Prussian determination to play the game in the Austrian half of the table is creating a serious situation on the Prussian right. |
 |
| The Austrian cuirassiers were sent around the extreme western flank, but they were under a 'dithering' commander and their advance was sluggish. Unfortunately, the umpire turned out to be similarly dithering and forgot to allow re-rolls of failed command dice, allowed when a dashing overall commander is in charge. Sorry guys! |
 |
| The Austrian grenadiers have been thrown back, but their supporting German infantry storm over the bridge in a desperate last gasp attack. Bavarian troops are beginning to free themselves from the marsh in the top right of the photo and are also closing in on Aufeld. But predictably, the gun at the bridge blasted the attacking column back with devastating canister fire. |
 |
| As the game drew to a close, the Prussian left flank cavalry galloped round onto the enemy baseline to try and break in behind the Austrian lines. They defeated the defending hussars, but the cost was high and supporting Austrian artillery (just seen at the left of the photo) saw them off in the next move. |
 |
| And they think it's all over! It was. Time had run out. Sadly Steve missed the final team photo - we'll get you next time my friend. On the table, it can just be seen that Aufeld is re-occupied by the Prussians, but the order to retire is on its way. Prussian casualties, increased by their aggressive defence, have been too high. |
Punditry
Well, everyone stated they enjoyed the game and it had been a pleasure to watch things unfold, with some competitive gaming leavened by good-natured banter. The scenario turned out to be a good one, and the rules coped well, although the first couple of moves were a little slow as everyone found their feet. Had the 'dashing commanding general' rule been properly applied, an even more exciting game might well have taken place. Damn my useless memory!
Two things occurred to me. First, I didn't put specific command allocations in place. This resulted in some occasionally lengthy discussions between commanders sharing the decisions. This might have been avoided if players had specific troops allocated to them.
Secondly, there was an interesting domination of the game by artillery. This has considerable historical support, especially in the latter part of the SYW. However, it was interesting to note that counter-battery fire was ignored by both sides, so that the guns continued to pound the enemy unabated as the turns progressed. This also has history on its side to a certain extent, but there may be a hole in the rules here. The particular problem is that hits are fairly easily rallied off when the enemy are outside 30cm, a common situation with counter-battery fire. So getting to the point where enemy guns are seriously affected is well-nigh impossible in some situations. But historically, it is clear that counter-battery fire could sometimes be effective.
My current idea is to take into account the fact that hits on artillery might not only affect the crews and supporting staff, but might result in actual destruction of the guns themselves. This material destruction obviously couldn't be rallied off. So, for every hit on an artillery battery, roll a D6. If you get a 5 or 6, an actual gun has been put out of action and this hit cannot be rallied off. Mark such hits with a different coloured die. In this way, long-distance pounding of your opponent's artillery may a be a bit more worthwhile.
And Finally...
Once again gentlemen, thank you one and all for a great day's gaming.
'Til the next time!
7 comments:
Keith,
Great looking game, its great to see a lot of RSM figures on show. We will also try out the artillery amendment, it should prove interesting.
Thanks for once again putting on a cracking game and as always such a joy to behold. Adam, Jon and Paul as always a pleasure to play against and nice to see Stuart, even though for only a short amount of time. Looking forward to the next one!
The game looked terrific, it was good to see the lads again and to meet Sam and Adam.
Well done to Keith for the absolutely splendid layout and cracking figures in some number.
Sorry I couldn't stay longer - family commitments...
Maybe next time.
Regards,
Stuart
very inspiring indeed!!!
Great looking game. I'll be converting this back to a WSS scenario.
The color variations are just tremendous. Great looking units, terrain, and game.
As I generally play solo , such a large game would be difficult to control so it is even more interesting to read reports such as this. I am surprised that counter-battery fire didn't come up in the play test as we had quite a lot of discussion on artillery as I remember. Perhaps others felt as I did that when it was possible to get more than one battery firing at a target battery it could be effective but more so that there were plenty of more pressing targets. I believe your amendment would cover this minor point very well. Now I must try to remember it!
Post a Comment